DIY Plastic Container Using Bottles and Zipper
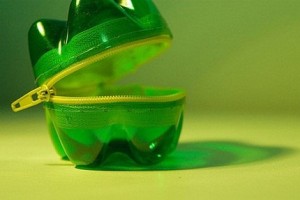
My friends and family members says that it never happened that they opened my fridge and didn’t find a bottle of cold drink. You can just imagine how many empty plastic bottles of cold drinks I would have. And so I was thinking to recycle these plastic bottles for any DIY project. I would say thanks to Zitta for giving me idea of DIY Plastic container using bottles and zipper. You can use this container as a purse, lunchbox for your kids or as a container to place coins or buttons. Here is a very simple method for making this DIY plastic container Project using Bottles and zipper.
Stuff Required:
- Two plastic bottles
- Zipper
- Super glue (or hot glue)
- Sewing needle and Nylon thread (if you don’t have glue)
- Scissors
- Marker
- Decorating materials
Instructions:
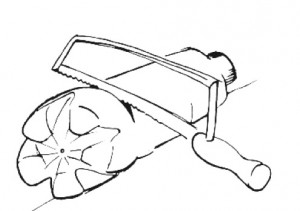
Mark the bottles approx. 3 inches high from the bottom, (height may vary depending upon your requirement for the container).
Cutoff the bottom of the bottles from the marked location and sharpen the edges using small scissor.
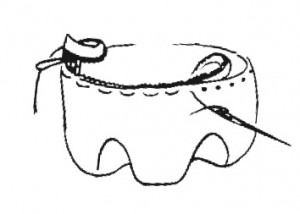
Open the zipper and place it at the edge of first cut-out bottom. If you have super glue then stick the zipper using glue to the edge of cut-out bottom or otherwise use the needle and thread to sew zipper with the bottom. Don’t forget to leave the 3cm space from the zipp-start and don’t stick /sew the whole circumference.
Zipper can be placed at inner side of the bottom edge or at the outer side of the bottom edge. Now apply the same stitching to the other side of the zipper with second bottles bottom.
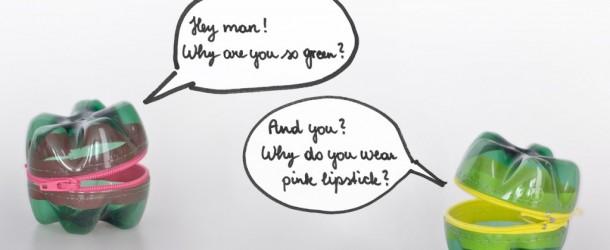
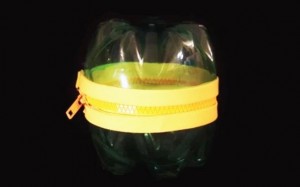
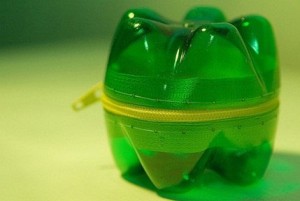
And that’s it, you have prepared your simple DIY plastic container using bottles and zipper.
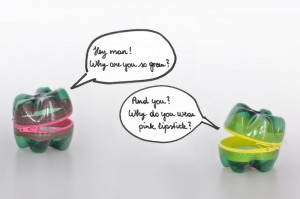
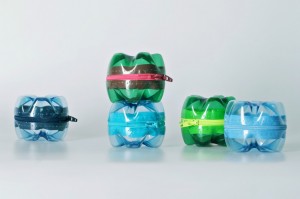
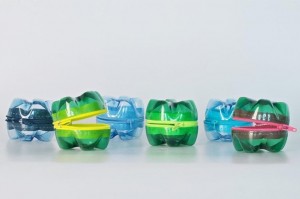
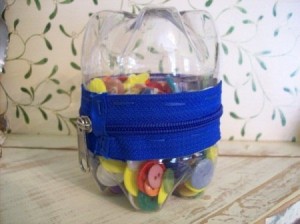
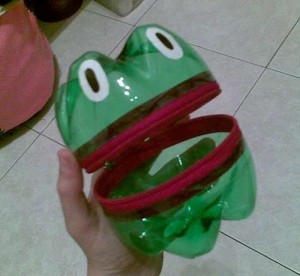
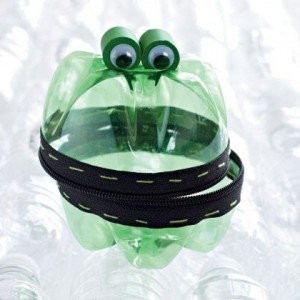
Now it comes to your artistic abilities i.e. how you would add value to the container? Have a look on these beautiful containers.



Much informative and useful article… I like it personally…