4 Simple DIY Crafts for Kids
Every parent wants their children to be able to express themselves. One of the best ways to encourage their expression is by motivating them to indulge in crafts and other self-expressive activities. Here are some easy DIY craft ideas for your kids to enjoy:
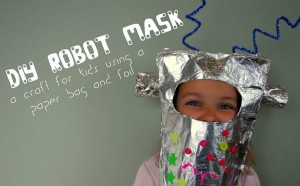
1. Tin foil robot mask – This craft is easy and fun for your kids, but the best part is that they can use the robot mask to complete their DIY robot Halloween outfit. All you need are the following:
- Tin foil
- Paper bag (size according to requirement)
- Glue
- Scissors
- Decorations of your choice (glitter, stickers, etc.)
Make sure the paper bag fits your kid, so they’ll have no problem wearing the mask around. Now cut an oval-shaped hole around the eyes so they can see and breathe. The next step is to lay down the paper bag flat and spread some glue around the edge and the center.
You can then stick the tin foil to the bag and cut off the extra foil from the edges and around the eye area. Once you have the mask all covered, you can add any decoration of your choice. Maybe add some glowing star stickers or even antennas? Allow your kids to come up with ways to decorate their tin foil robot mask and have some fun creating it.
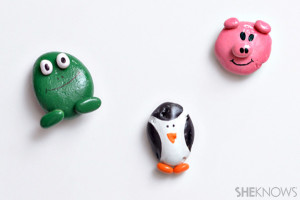
2. Rock animals – Painting rocks can be a great way to get your kids to express their creativity. You can take it further by helping them create little animals out of rocks. This is what you will need:
- 2 rocks per animal (one should be smaller than the other)
- Acrylic paint
- Hot-glue gun
- Scissors
- Construction paper
- Paintbrushes
You can start by painting the rock a solid color and allow it to dry. Once the paint dries, you can use a small paintbrush to add details like facial features on the smaller rock and spots or stripes on the other. Use the hot-glue gun to glue the two rocks together. You can then cut out the ears from the construction paper according to which animal you choose to make. Otherwise, you could even use tiny painted pebbles for the ears.
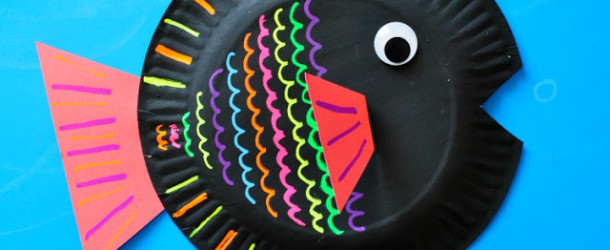
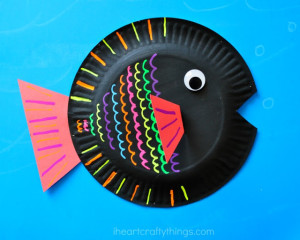
3. Paper plate fish – Your kids could have so much fun painting a sea of these colorful paper plate fishes. They could even use these fish plates to decorate their rooms. Here are the things you’ll need:
- Paper plate
- Acrylic paint
- Glue
- Googly eye
- Scissors
- Colored cardboard paper
- Paintbrushes
Paint the plate as a body of a fish and leave it to dry. Maybe you could paint a colorful clown fish or simply paint it any color you wish. Cut out two triangles of varying sizes from the cardboard paper. The bigger one will be for the tail fin and you can use the smaller one as a side fin.
Once the paint has dries, glue on the googly eye to the plate. For the mouth, you can either cut out a triangle or use the acrylic paint to paint a mouth. Glue on the cardboard triangles at their respective locations. You will need to bend the tip of the smaller triangle in order to glue it on.
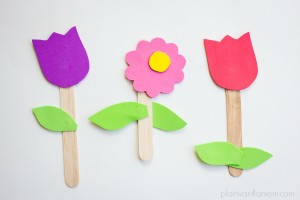
4. Foam sheet flowers – Help your kids create a garden of foam flowers to brighten the house. Whether you put these flowers in a pot or paste them to the walls for décor is up to you. You will need the following items to complete this craft:
- Foam sheets in varying colors
- Glue
- Scissors
- Ice cream stick/craft stick
Begin by cutting out the flower shape from the foam sheet and leaves from a green foam sheet. Stick these on to an ice cream stick and that’s it. If you wish, you could fill up a flower pot with black beans and “plant” different foam sheet flowers to decorate your window sill or study table.
There are plenty of easy DIY crafts that your kids could try out for expressing their creativity. Try to start simple and then gradually help them find crafts that would suit their abilities. Remember not to be too controlling or to demand too much out of them. The point is to let them have fun while developing their crafting skills.



Comments are closed.