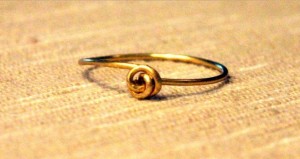
A Simple Handmade Wire knot ring
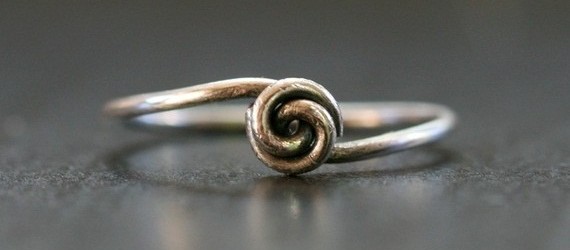
Well on this valentine you are going to propose someone very special and you want to give a ring as a gift then no need to go to market and choose a ring, here is a simple but heart touching handmade wire knot ring for that special person. It just needs a bit of your time and a lovely gift is ready and i am sure everyone will like it.
Stuff Required:
- Gold-Plated Wire Preferably 20 gauge, 18 gauge can also work (Depending upon your requirement you can also use twisted wire or sterling silver or colored wire or as you are making a present then you can use 14K gold filled wire)
- Lip balm Tube as a ring mandrel
- Wire Cutter
- Nose Pliers
- Nail Filer
Instructions:
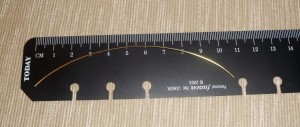
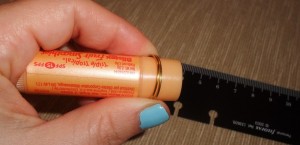
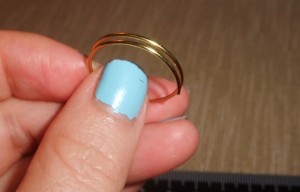
1. Cut a piece of wire and wrap it around the tube of lip balm. Wrap it tightly around it and slip it off as shown in the image below.
2. Cut the extra wire portions as i don’t want the knot ends to be too long but if you are not sure how long they should be then you can leave the long ends as it is.
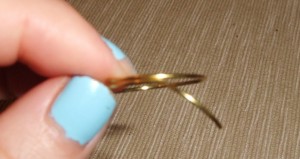
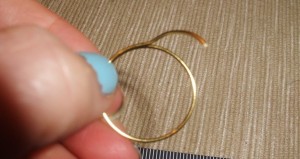
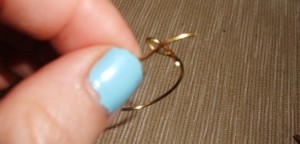
3. Now bend the wire coming from your left to aim upward and then bend it again to aim it away from the ring as shown in the images below.
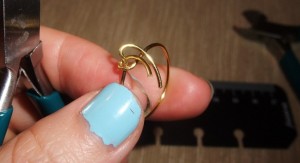
4. Using the round nose pliers form a little loop. As you can see in the image below that wire is crossing above itself on the top side of the ring but it should not touch the ring as you will slip the other end of the wire from this space.
5. Now is the turn of other end of the wire. Put the other end of the wire through the loop that is just created. Ideally, you have left a little space between the ring and the wire crossing itself (hence forming the loop) as told in the last step, and now you can easily slip the other wire in. If it is not possible easily, just get it in any way you can and then ‘reform’ the ring shape using the lip balm tube.
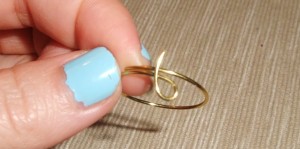
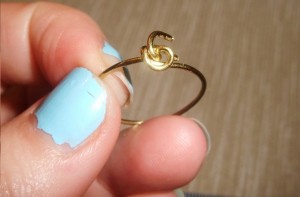
6. Now ‘close up’ the first loop a bit by bring the wire closer to the ring and apply the same action to the other wire end, forming another loop, as shown in the image below.
7. And it is almost done! Hardest part is done and now the time to give it some finishing touch. Just make sure the size of the ring is as desired because you still have a chance to adjust the size slightly. Close the knot to complete the ring.
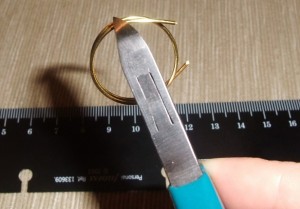
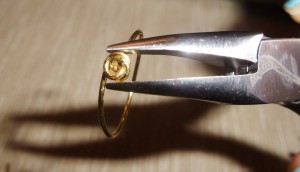
8. Tuck in any wire that’s out of place & tighten the knot. Use the chain nose and bent chain nose pliers to close up the knot and shape it the way you want. Adjust the wire ends to a place where they are not visible and where they don’t irritate the skin. Once the ends are adjusted, use a nail file to file off any sharp edges and blemishes.
9. And it’s done. A beautiful handmade wire knot ring is ready.
You may notice some tool marks on the ring, this could be because of the wire you’re using or you may use some tool accessories (like silicone slips on your pliers) to avoid these marks. These marks can be polished away on some wires. But i leave these marks as it. It’s a handmade ring and I like it to be looked handmade too. 🙂



i’ve been trying to make this ring, but I’ve no clue what to do after making the almost loop. Or, simply, how to get the piece of wire into the loop to make the knot.
You need to be careful while performing step 4 and 5. While making a loop there should be some space so that other cable can be slipped in easily.
just curious, would copper be too soft?
Pure copper would definitely be too soft to get the target with a proper shape but you can still make use of it if handled with care. Alternatively you can use some alloy of copper to make this beautiful present.