The Beauty of DIY Floor Finishing
Most home masterpieces are lovingly made by your very own hands. And this doesn’t exclude timber flooring. Make your abode truly elegant by personally applying high-quality finishing products on the sturdy surfaces of your interior.
Exquisitely designed houses usually have wooden floorings: not only are they durable, they also add a classic touch to your home. Your abode’s re-sale prospects can also boost its value through finely polished floor materials – they just seem to impress most prospective buyers with its timeless look.
Contact your flooring supplier to install the wooden canvass of your finishing masterpiece. It’s also practical to consult with flooring experts, so you’ll know best way of applying the right product on your flooring.
Without further ado, here are tips to applying DIY hardwood floor polish:
Wisely Choose Your Finishing Materials
The first step to implement impeccable finishing work requires thoroughly preparing your materials. You may save on labour fees, but this doesn’t mean you’ll be utterly frugal with your choice of finishing items.
You’ll need the following:
High-quality finishing product
There are DIY enthusiasts who go to greater lengths as they invest on solid timber flooring. They’d come up with their very own wood finishing recipe before application on to their newly installed floors. If the timber flooring is lovingly cared for, you’ll notice a more organic feel on your home’s interiors.
However, there are industrial solutions which effectively preserve the quality of your flooring. You can seek the advice of flooring experts to choose the right kinds finishing solution.
If you’d prefer to cover your floor with a good solution yourself, make sure you know the exact effect of your chosen compound on your timber flooring.
Two sturdy brushes
Finishing brushes come in different tips, sizes, and thickness. Bristle quality is another factor. If you’re applying floor finish, it’s best to choose 50 mm polishers.
As you enter a hardware shop, make sure to sample out your selected type of brush. Make sure the bristles won’t come off the handle. Check whether the finish can also effectively stick with the brushes.
Wooden Planks as Samples
You’d be fortunate if you’re getting a new installation on your wooden flooring. You can see a better combination between choices of wooden samples (from actual timber, bamboo and vinyl), and floor finishing solutions (sealants and varnishes).
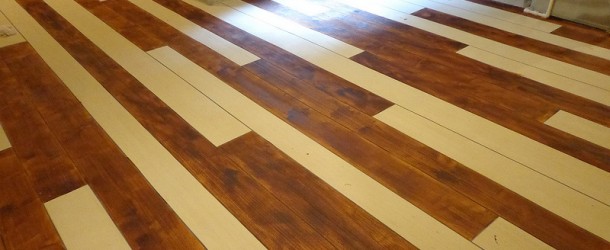
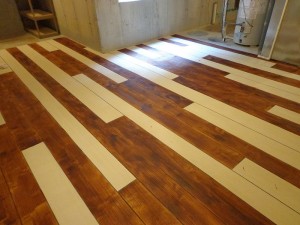
Have finishing samples brushed on cut out planks. Finalise on a technique you’ll use to correctly apply your solution on to your actual flooring. You’ll discover every wooden material shows off particular finishing effect when applied by a certain solution.
Consultations with an Expert
Some homeowners see art in their works. Beyond saving on actual finishing labour, they feel more fulfilled after having seen their original finishing and flooring combinations come to life.
However, a constant line of communication with floor experts ensures less finishing disasters in your home. You can plan on these three major consultation sessions:
- Before selecting your finish application materials,
- Before brushing and rolling your solution on the floor, and
- Right after you use the coating on your timber floor
You can even ask for tips on brushing directions such as on which corners to start, and of how to put a final application on your home’s timber flooring.
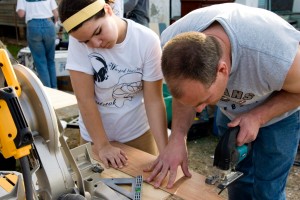
The fun part is you don’t need to embark on a floor finishing project alone. You can ask for the help of your family members, loved ones and friends. This makes DIY floor finishing more interesting, especially when you’ve got a huge flooring area to cover. Imagine having a well-executed finishing project. This makes your property even more valuable.
Exhaustively prepare your materials and application know-hows well. This ensures impeccably applying the finest-quality of floor finishing in your home. Make sure to contact your supplier for more effective tips on floor finishing applications.


Comments are closed.