How to Build Wardrobe (armoire / almirah)
Don’t have the money to purchase expensive wardrobe furniture to help keep your clothing tidy and neat? Then build wardrobe yourself. Don’t worry about experience in carpentry and furniture making, with simple Bosch power tool, a bit of creativity and DIY instructions; you’re not far from having a wardrobe proudly made by you. DIY wardrobes like this are very useful in storing your skirts, shirts and folded pants. You can also hang your coat and long dresses just to keep them smooth and neat for any occasions. Its time to get to work, what will you need?
The size of the material you’ll get will be determined by the size of the cupboard you want to build; so use these instructions to suite your personal taste. Apart from woodworking tools you will also need plywood, plugs, hinges, door handles, paint, sandpaper, edging tape and other things according to your needs. The first step is to measure the space available in terms of depth, height and width. Allow for out of square wall/floor and ensure that your door is not too wide. Spend time to think about the style and design of wardrobe you’ll prefer. Do you want a wardrobe with drawers or a traditional plain looking wardrobe? Make your decision at the beginning.
Now its time to start cutting, but you need to be very careful now. This is because it’s almost impossible to cut sheet materials like ply, MDF and melamine without the use of professional equipment. Hand saw and jigsaw? No way. If you’re not a pro then your cutting equipment should be. Professional equipment deliver great results and supporting the material you’re cutting will ensure cutting accuracy. For materials to last long you need to cover them with edges or iron; MDF you’re intending to paint must also be sealed with edges to make it smooth.
Measure across the back, top and sides of your space and cut your material based on your measurement. The best way to join the pieces together in making your wardrobe is to use screws. To avoid your MDF from spilling first drill pilot holes with bosch power tool before you start with the screwing. Join the sides, top and floor together with the screws and ensure that everything look solid and smart. You can now add the centre rod, also with screws. Now it is time to construct the door. Decide whether you want one door or two for the wardrobe. Measure the front and cut the door accordingly.
Using hinges carefully attach the door(s) to the cabinets; magnetic latch or cabinet catches at the side of the door will make them stay even closer. If you need bottom shelves you can add it by cutting sizable MDF and screwing it to the cabinet sides. Your wardrobe is almost done but you need to make it look attractive. This can be achieved by sanding and staining both the inside and outside of the wardrobe. Attach door handle, install closet rods for pants and skirts, paint it with the color of your choice and your wardrobe is ready for use.

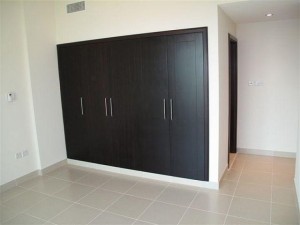
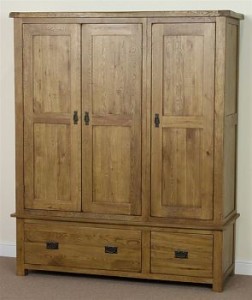


amazing