DIY Portable House
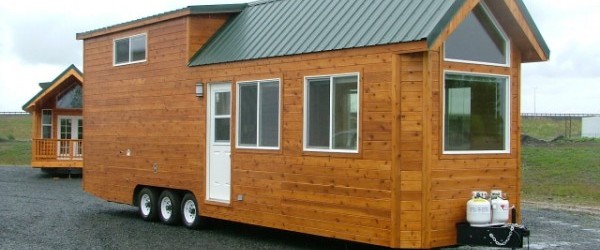
It’s that time of the month again when we have to pay the rent. Sometimes you think “Maybe I should just make my own house, a portable on which I can take anywhere life takes me.” Well, it’s not really that far off from reality! Portable housing structures which are used as homes, offices and greenhouses may even be DIY (do it yourself) activities!
Wait a minute, what exactly are the advantages of having a portable house? Here are a few:
Portable mortgage
This is extremely advantageous for those of us who are often required by work to move around between different cities. Having a portable house keeps you away from all those closing costs.
Lower maintenance costs
Repairs on a mobile home are a whole lot cheaper than that of a traditional one due to the compactness of a portable structure. Heating bills will also be lower.
Building a Portable House
Alright, let’s get down to the nitty gritty! Here are the steps on how to create your own Portable house.
1. Layout
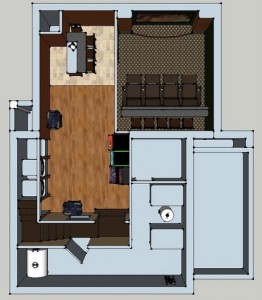
First step is to define the dimensions of the structure you want to build and how spacious it will be.
Next, Figure out what you want it to look like. It would probably be good to browse through housing websites, blogs and magazines. If you can, get professional advice for the blueprint that would be great, but it’s not necessary. The important thing is you visualize a structure that you are sure to have the abilities to build.
List down all the tools you will need for the assembly. Once you are sure you’ve got everything jotted down, go ahead and purchase them. Find the best deal possible!
2. Foundation
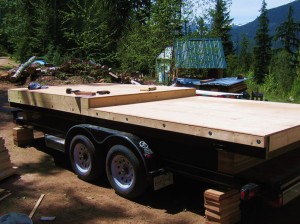
Lay down your foundation according to the specifications of your design. Use concrete blocks, four by fours and hammer and nails. Make sure it’s solid enough to support our entire structure.
3. Walls
When building walls, it’s best to start with the sides of the structure. Drill two by fours around the outer part and nail them into the tight from the bottom of the foundation.
4. Doors
When setting up the walls leave appropriate space for the door and attach the door you built into it. Secure it firmly with into hinges and test for sturdiness.
5. Roof
Use 3 inch plywood and shape the roof the building and apply waterproof solvent and cover it completely using paint roller.
After the structure is solidly build, it is now time to paint away! Allow a day or two to painting the inside and the out. Once all the paint has dried out and the air is breathable again, design the inside! Decorate and furnish it according to your style. If you are into gardens then you may design it this way.
Viola, there you have it! There is no greater feeling of accomplishment than building your own home with your bare hands! You can say goodbye to expensive mortgages and hello to your own hand built house!



Comments are closed.