DIY Rings – Button Rings
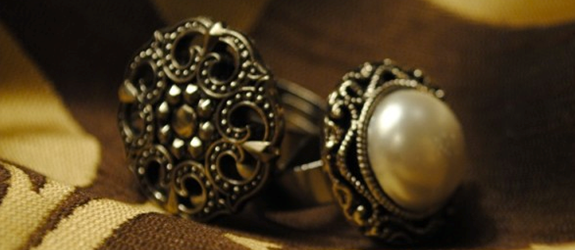
Many DIY Rings ideas are floated around the web but I found the Button Rings idea the simplest and most attractive way of creating the DIY Rings. If you follow this simple button ring tutorial, you can also create your customized rings.
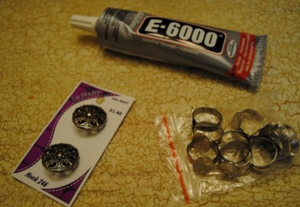
Stuff Required:
- Ring Backs
- Unique Looking Buttons
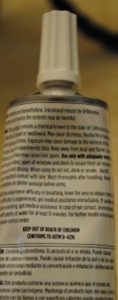
- Strong adhesive
- Wire Clippers
- Sand Paper
- Something to hold the rings together (not a necessity but suggested)
Precautions:
Best quality glue/adhesive is recommended for use or you will end up your project without completion.
Instructions:
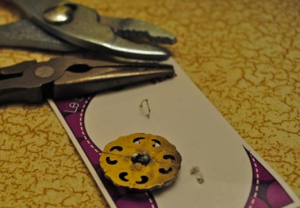
Take the buttons that you have chosen out of the package. They will have loops on their backs, or something that will allow you to fix them to clothing. clip these as close to the body of the button as you can. It’s ok there will be some sticking out, that’s what sand paper is for.
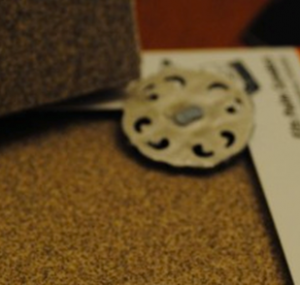
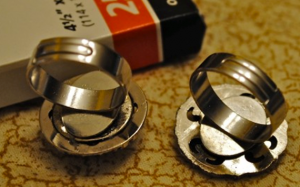
Sand the back of the button to remove the remaining material. While you are sanding, make sure the face of the ring backing is smooth.
Apply glue to the ring backing.
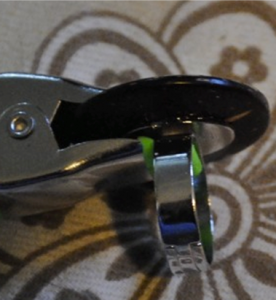
Press the button onto the ring backing, and clamp them together. If you do not have anything to clamp them down with, turn them button face down.
Let them set for roughly 12-24 hours, depending on the ambient temperature & humidity.
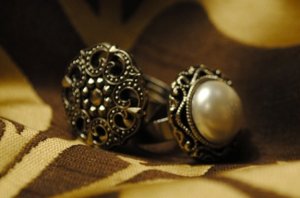
Clean up excess dried glue by sanding it down and your Button ring is ready.
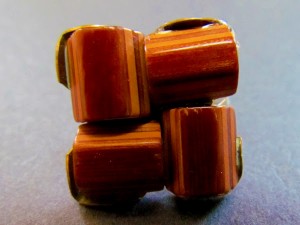
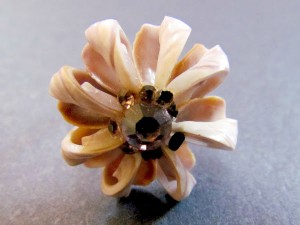
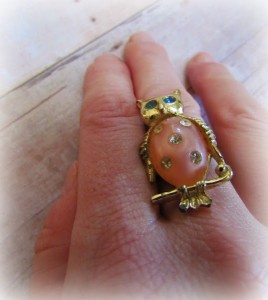
Have a look on some other fashionable handmade Button Rings.
Before you know it you will have a designer looking ring for less than the price of one of these fashion rings.




Comments are closed.