Handcrafted Jewelry – Danglers and Necklaces
The right kind of designer jewelry can make us look elegant and beautiful. Whether it is a formal or a casual event, accessories offer that much-needed to our entire ensemble. Though it is easy to find different varieties of jewelry in the market, many women are interested in something exquisite and unique. In fact, you can find exclusive touch in some of the gorgeous pieces of handcrafted jewelry. The popularity of handcrafted jewelry is increasing and there are many stores that sell only such jewelry pieces. Being handcrafted, these jewelry pieces have different look and distinct appeal. You can also get such jewelry in jewelry auction houses. If you are also interested in such jewelry items, then here are some steps to prepare designer handcrafted jewelry on your own.
Tips To Make Handcrafted Danglers
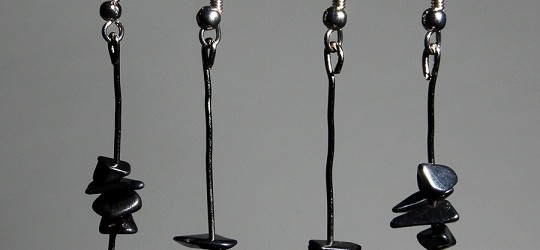
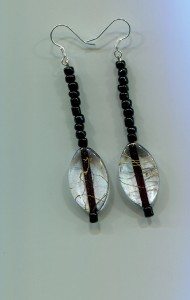
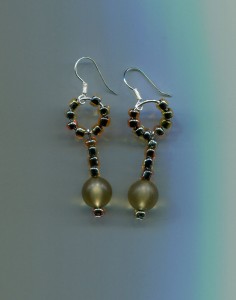
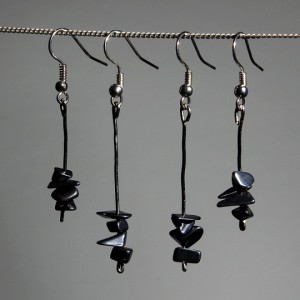
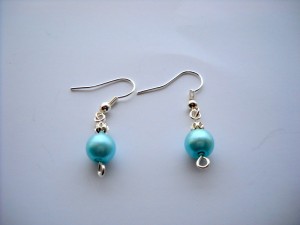
At first get some basic beads and headpins of your choice. Select different colors and proportions for a basic aesthetic balance that complement with each other. Then stack the beads onto the headpins with the head of the headpins towards the bottom side. On the top leave 3/8 part of the pin exposed.
Then with one hand hold the beads firmly against the head. Grip the headpin above the last bead using the round nose pliers. Make sure to remove excess wire. About ¼ of the bent portion should be left after that. Grip the end of the ping by using the tip of the pliers. To form a smooth loop, roll them. Open the ring on the ear clip using the pliers. Now, join the beaded headpin with the ear wire. And then close the ring.
Tips for Making a Handcrafted Beaded Necklace
Stuff Required:
- Garnet colored nylon beading cord-size 4
- Scissors
- Toggle clasp
- Seashells/bead tips
- Bead board
- Corsage pin
- Glue
- Pliers
- Different types of extra accent beads
- 4mm garnet beads – One 16-inch strand
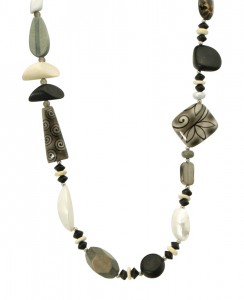
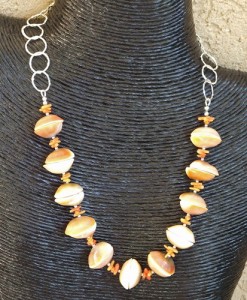
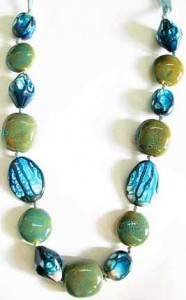
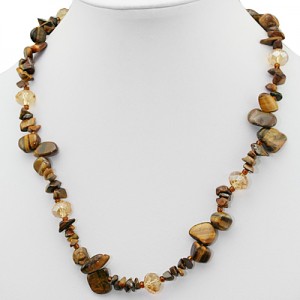
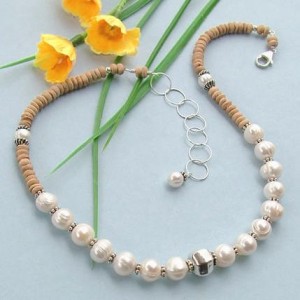
At first, place the garnet beads over the bead board. Spread the beads with 10 ½ inch mark. Now, add some accent beads in order to cover the spaces between the beads. Make it creative and avoid symmetry in design.
Make 3 knots using the nylon thread. Make the knots one above another up to the end of the cord. Now, join the free end of the thread and the seashells. Those knots will be places inside the shell. Cut the extra thread and apply some superglue. Use some pliers to close the seashell.
Now string the beads as you had placed them on the board. Measure the portion while stringing the bead. Adjust them according to the length needed. Ensure it is about 20 inches. Then add other seashell. Tie the loose know with the thread. Now, insert a corsage pin in the loose knot.
Tighten the knot by holding the corsage pin and the thread. Push the knot towards the seashell using the corsage pin. Repeat the steps to make sure all the knots are on top of each other. After using the toggle clasp the necklace is completed and ready for use.



Thanks for the very useful tips. I never thought that I could make such jewelries because I don’t really have talent for that. I am so amazed that this thing is actually fun. 🙂